Azure Devops Custom (Errors) Messages in emails and Job reports
One of the common feature request for Azure Devops is to have a custom messages in emails. It could be great feature, but currently we have some options – so let’s see them one by one.
The code:
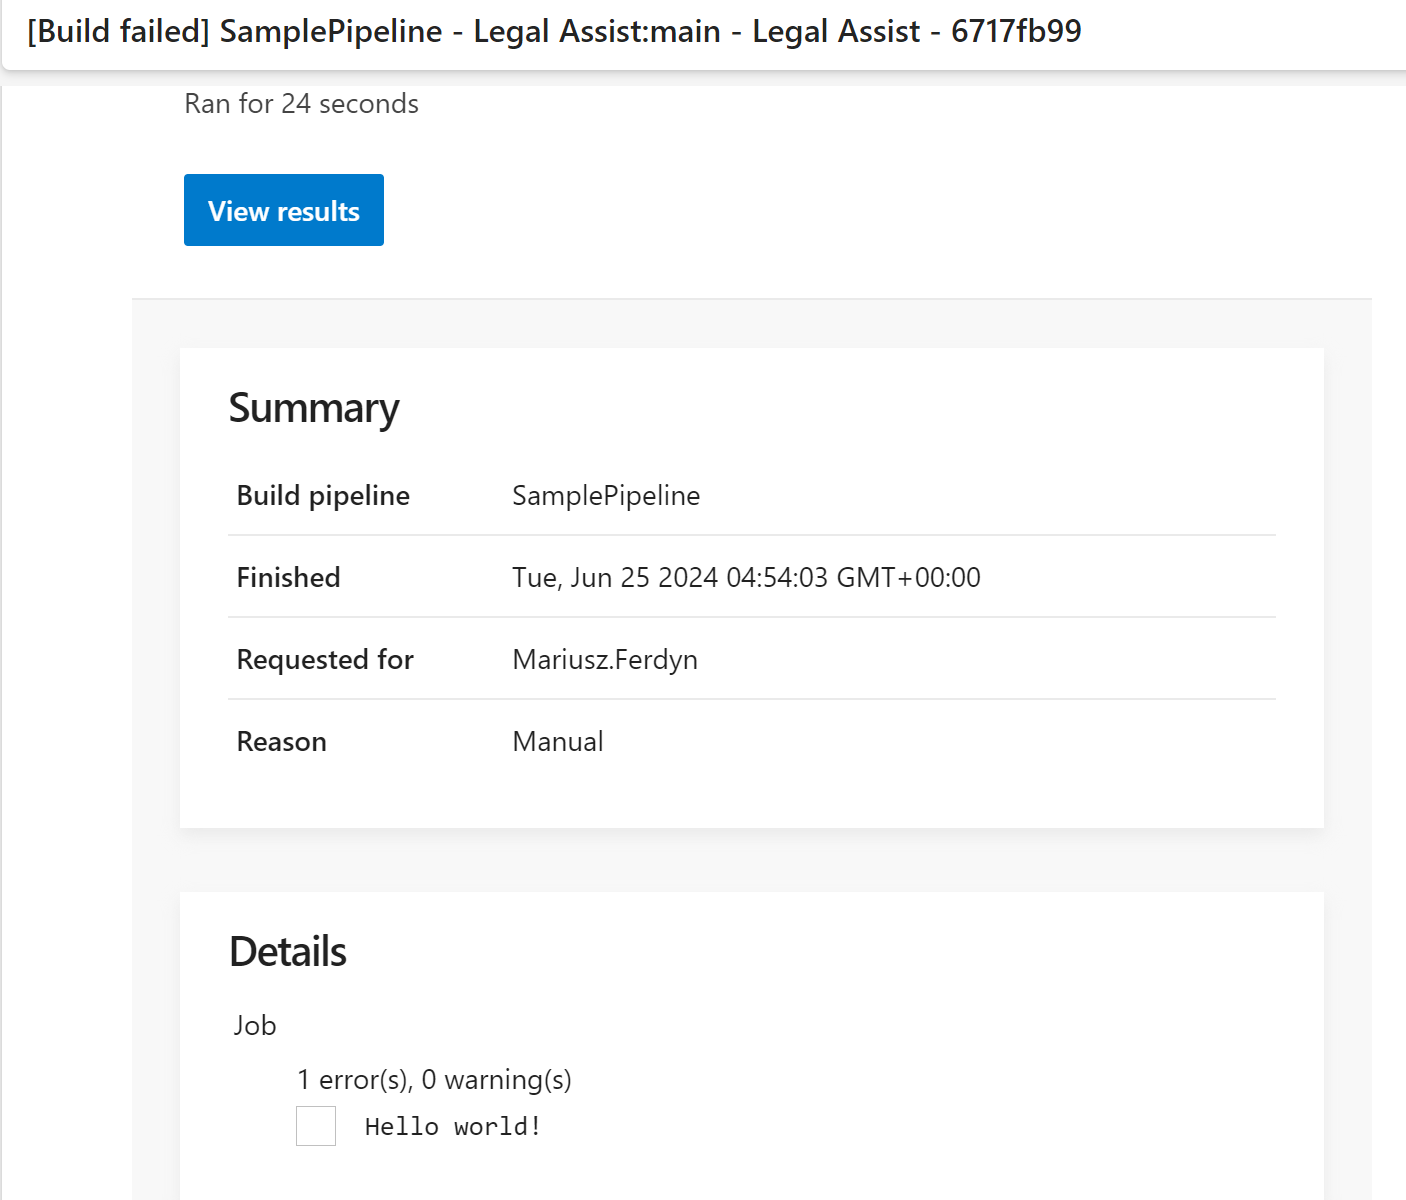
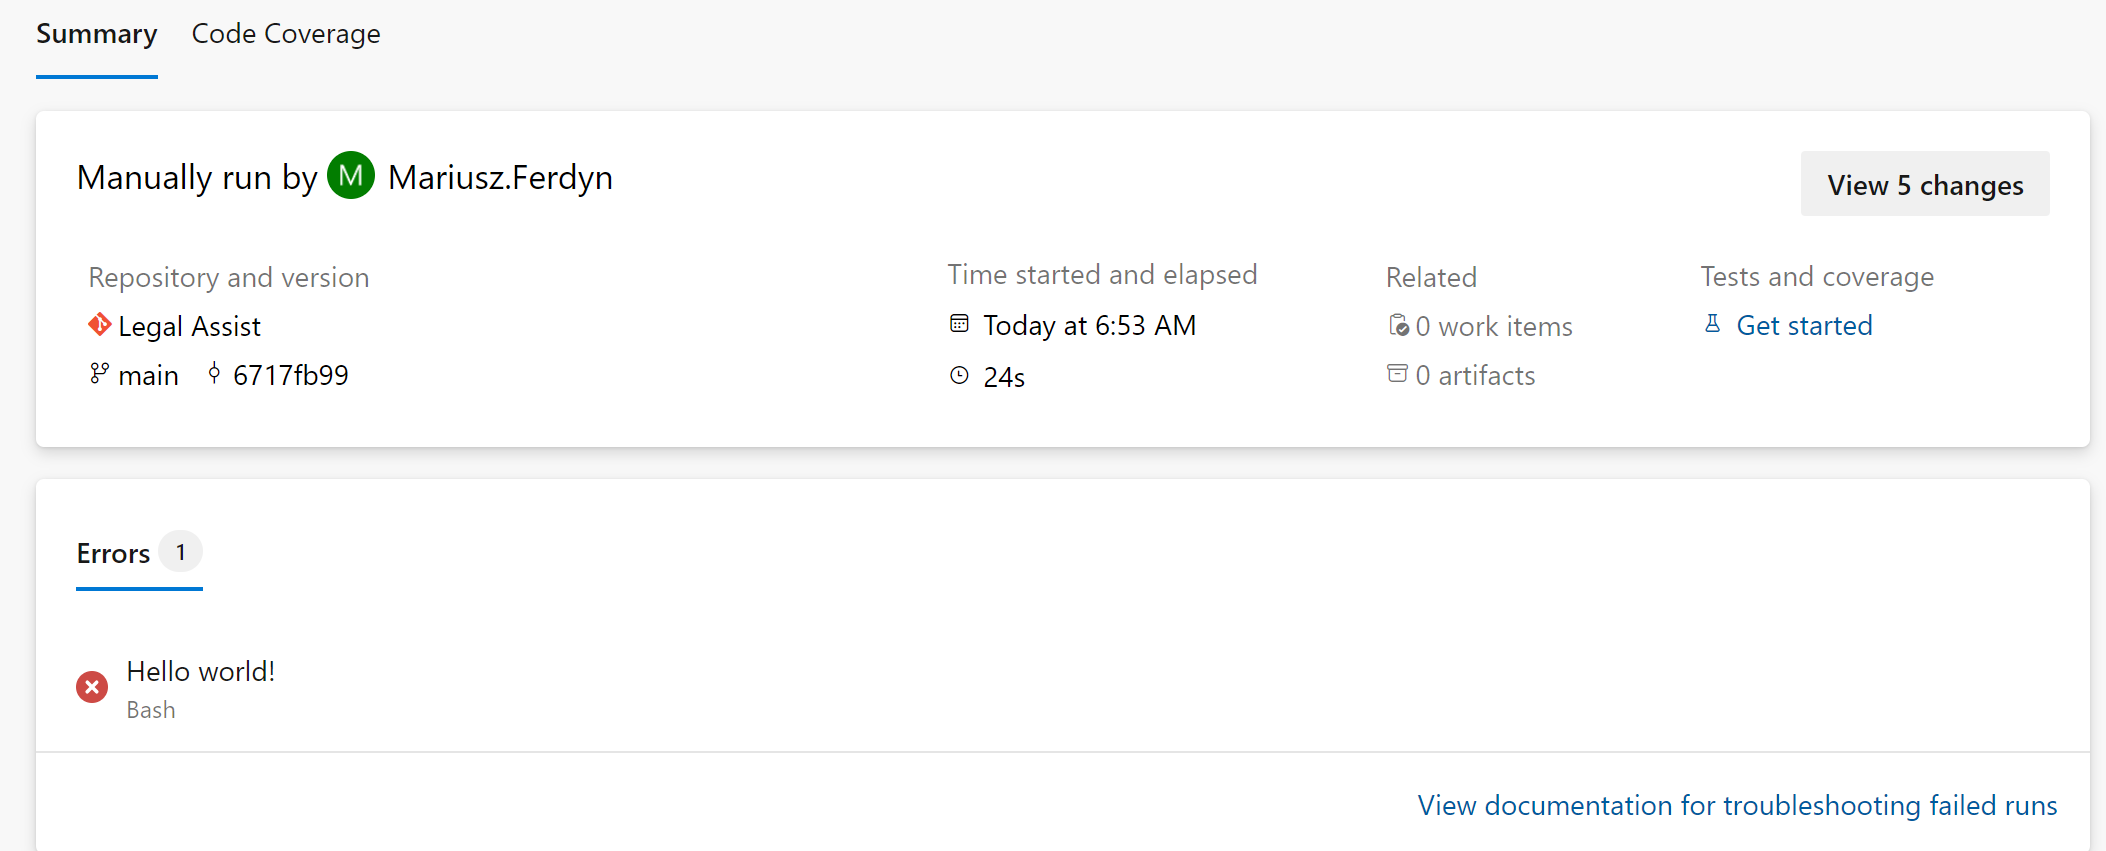
– task: Bash@3inputs:targetType: ‘inline’script: |echo “##vso[task.logissue type=error]Hello world!”echo “##vso[task.complete result=Failed]”
produces the following report (we see the message), and email (we see the message):
The code:
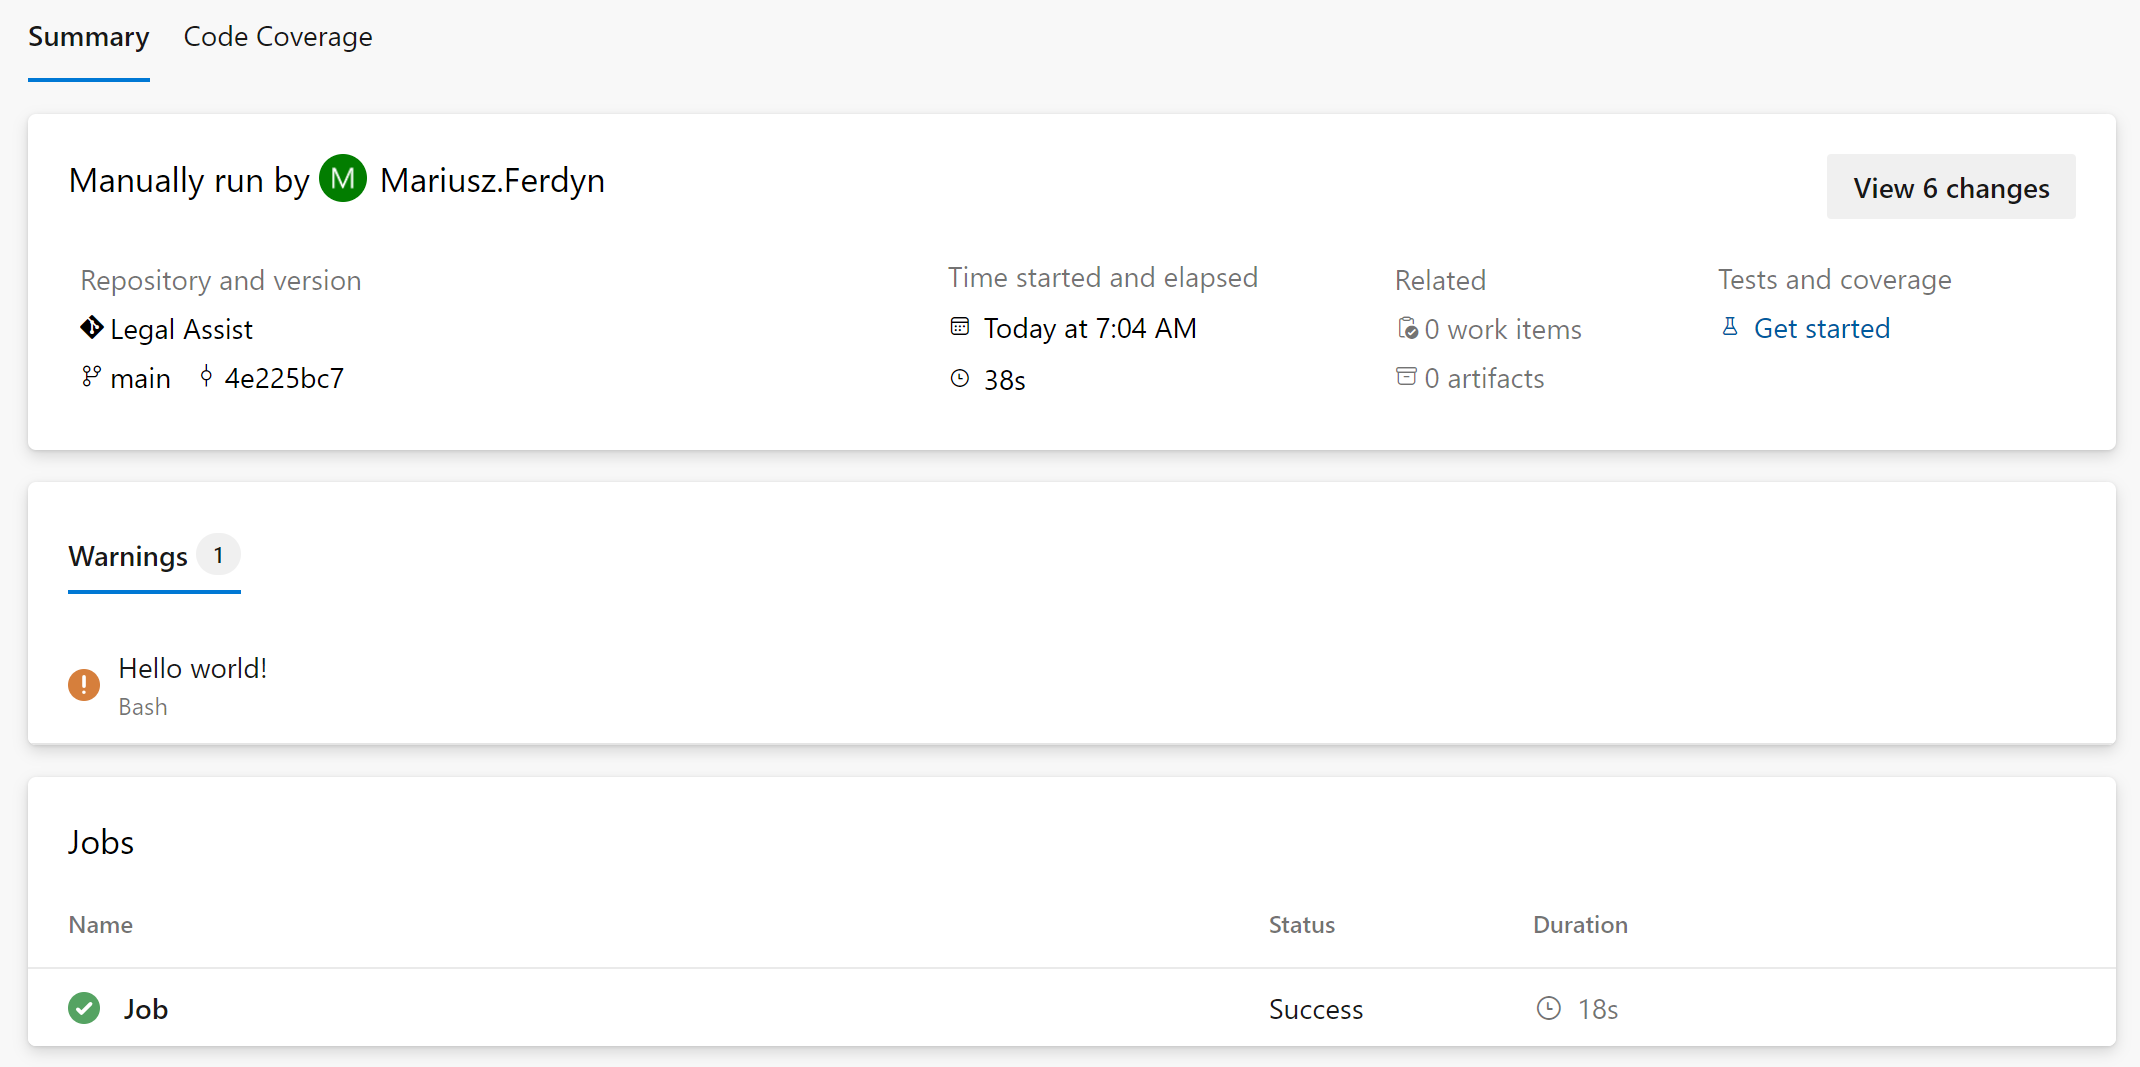
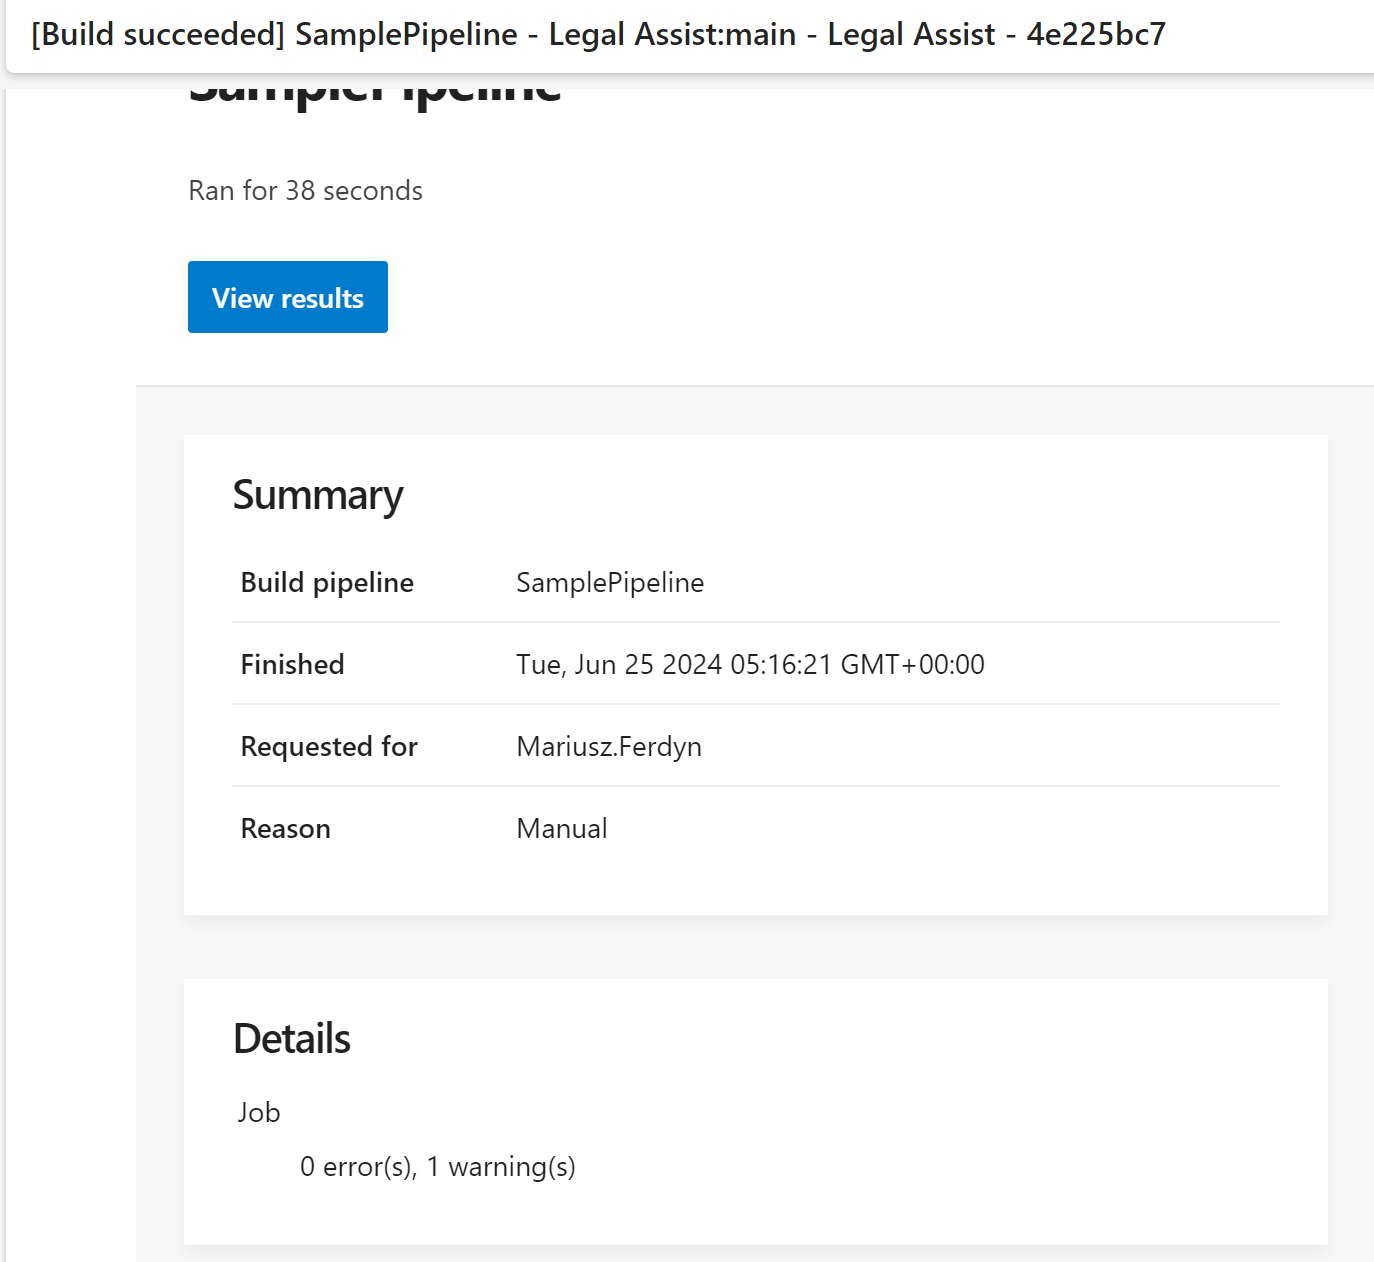
– task: Bash@3inputs:targetType: ‘inline’script: |echo “##vso[task.logissue type=warning]Hello world!”echo “##vso[task.complete result=Succeeded]”
produces the following report (we see the message), and email (we do not see the message):
The code:
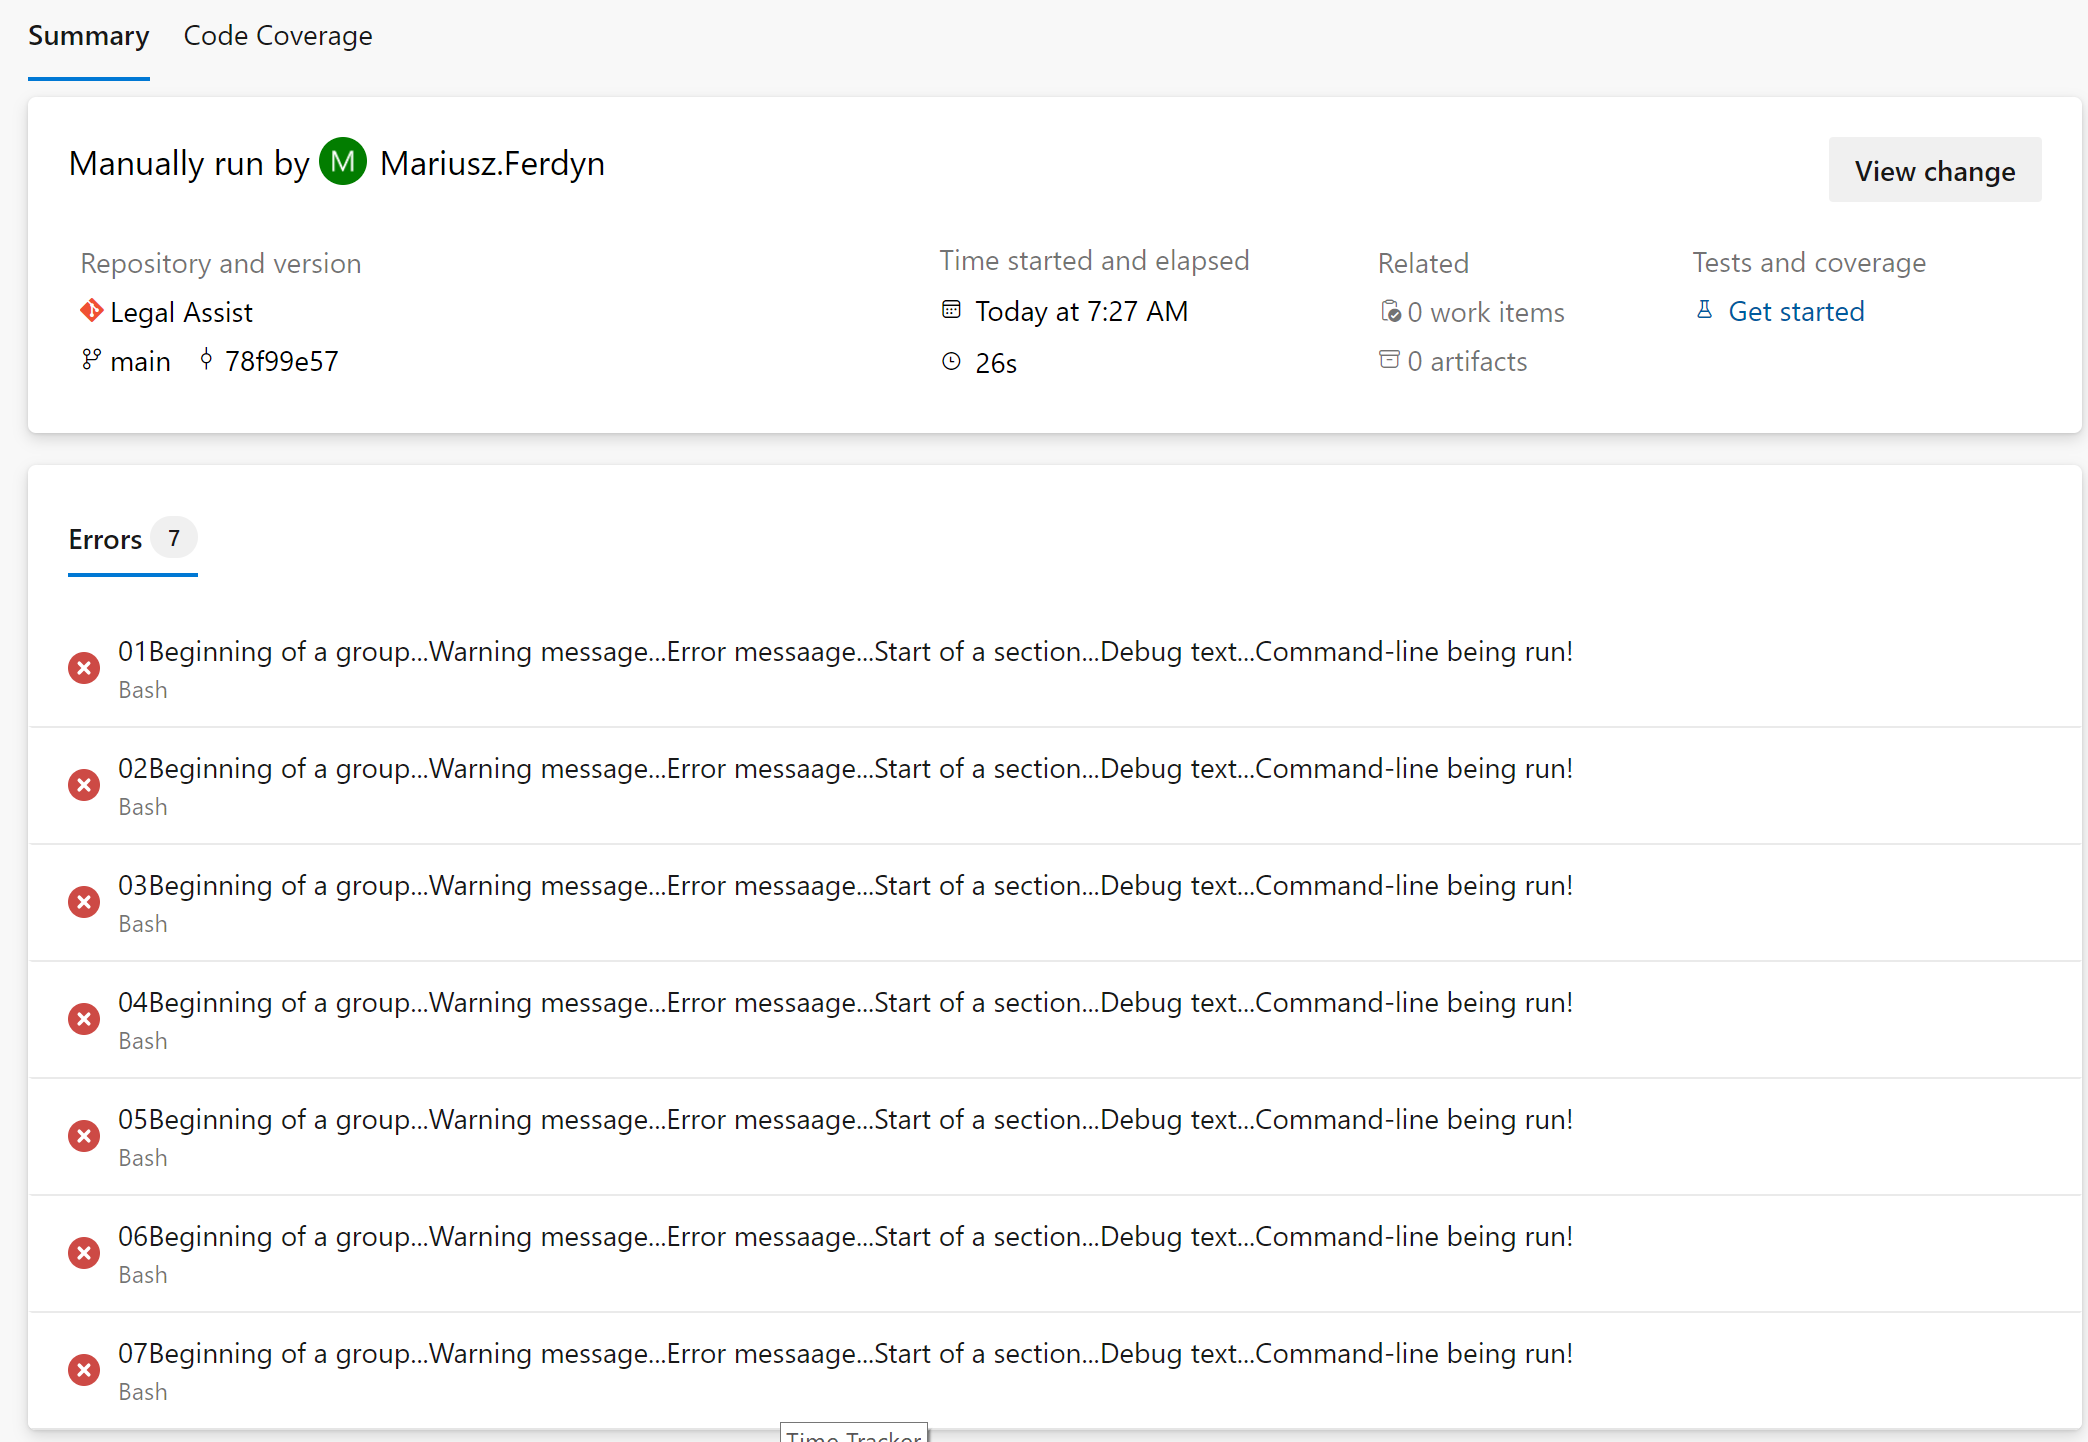
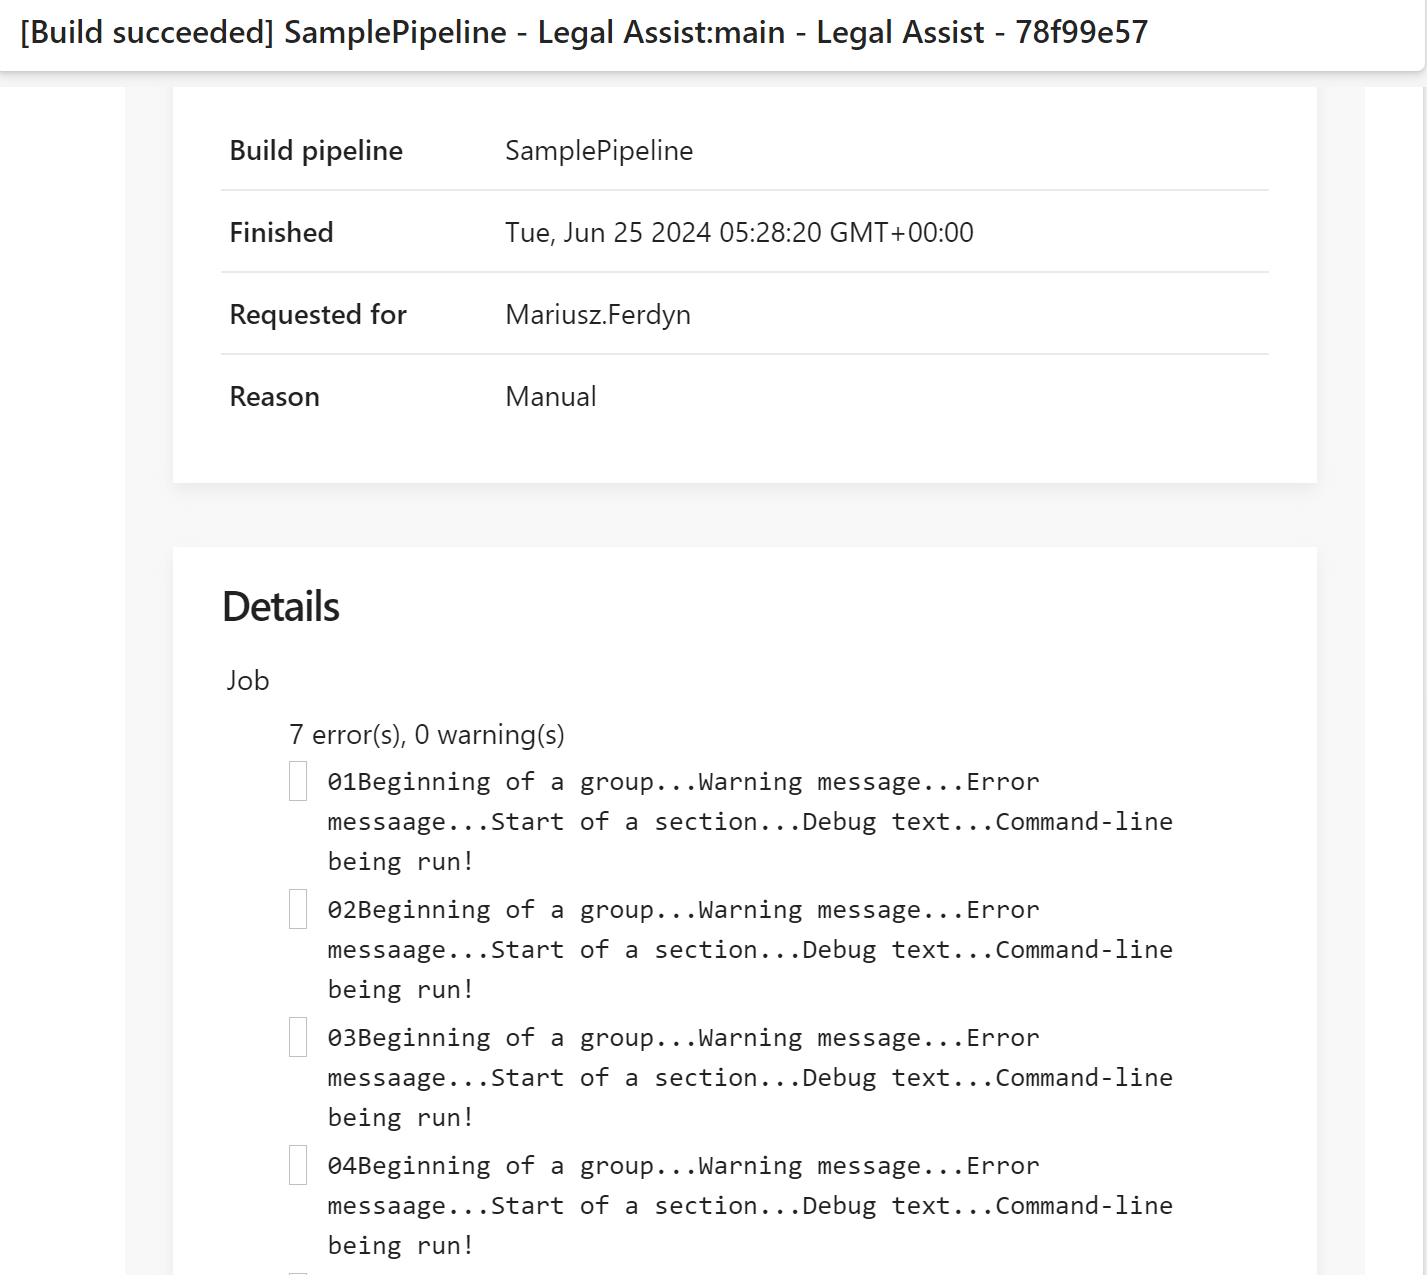
– task: Bash@3inputs:targetType: ‘inline’script: |echo “##vso[task.logissue type=error]01Beginning of a group…Warning message…Error messaage…Start of a section…Debug text…Command-line being run!”echo “##vso[task.logissue type=error]02Beginning of a group…Warning message…Error messaage…Start of a section…Debug text…Command-line being run!”echo “##vso[task.logissue type=error]03Beginning of a group…Warning message…Error messaage…Start of a section…Debug text…Command-line being run!”echo “##vso[task.logissue type=error]04Beginning of a group…Warning message…Error messaage…Start of a section…Debug text…Command-line being run!”echo “##vso[task.logissue type=error]05Beginning of a group…Warning message…Error messaage…Start of a section…Debug text…Command-line being run!”echo “##vso[task.logissue type=error]06Beginning of a group…Warning message…Error messaage…Start of a section…Debug text…Command-line being run!”echo “##vso[task.logissue type=error]07Beginning of a group…Warning message…Error messaage…Start of a section…Debug text…Command-line being run!”echo “##vso[task.complete result=Succeeded]”
produces the following report (we see the message), and email (we see the message):