How to export unexportable all certificates – fast and easy
Mimikatz can be a tool not only for hackers. During migrations to Cloud from IaaS many times I need to export the certificate to reuse on the cloud – most of them -p private kay is protected against the export. But it is easy to do with Mimikatz. Moreover, it is easier than using certificates MMC. Here is a step by step process:
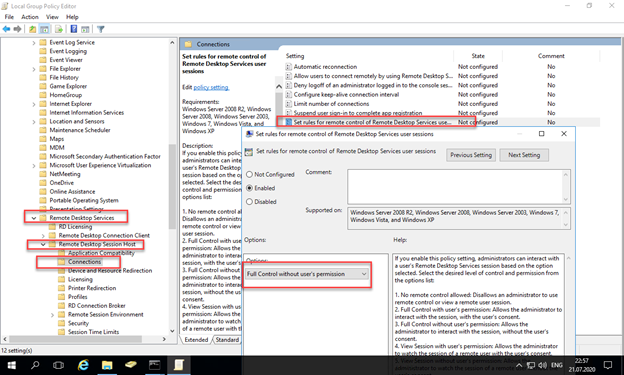
- Disable Antivirus including Windows Defender using gpedit.msc.
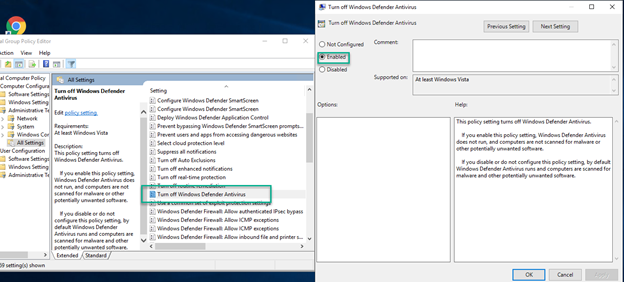
- Execute gpupdate /force.
- Download Mimikatz https://blog.gentilkiwi.com/mimikatz – binaries.
-
Execute:
crypto::capiprivilege::debugcrypto::cngcrypto::certificates /systemstore:local_machine /store:my /export
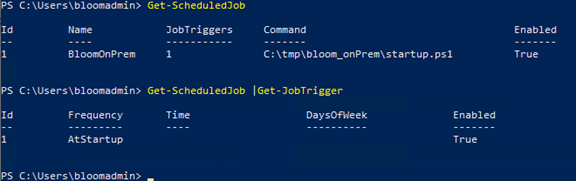
If you cannot find your certificate here:
Get-ChildItem Cert:\LocalMachine\My
Just instead of looking where it is go to IIS Management or simply open webpage, export certificate without the private key, import it to the LocalMachine using mmc.exe/certificate. At this point, the certificate has not private key associated, but you can download DigiCert utility run this utility as an administrator, choose the certificate to right-click, and repair the certificate. In that way, private kay that exists on the machine will be found and you can export the certificate with a private key once again using:
crypto::certificates /systemstore:local_machine /store:my /export
The certificate will have the password: mimikatz.


 like here: